
Inside: Review of the Smart Thermostat from Netatmo. Press sample.
We have been slowly making our home into a smart home over the last few years, switching standard light bulbs for smart bulbs, using smart plugs to turn devices off at the socket rather than leaving them on standby -anything that can help us reduce our energy usage.
Smart thermostats can help lower your energy usage by allowing you to configure your heating schedule to suit your daily needs, habits and routine. With open window detection and auto-adapt technology you can save money on your heating bills.
In this review I will walk through the various features of the Netatmo smart thermostat system and set-up process.
What’s in the box?
I should mention that there are two types of smart thermostat available from Netatmo: the modulating thermostat that is wired in to your boiler, and the standard thermostat that simply replaces your existing thermostat (with the option to wire it to your boiler if preferred).
We have the standard thermostat and found it really easy to set up and install.


Inside the box you get:
- Thermostat
- Mobile stand (if you wire the relay in instead)
- Relay
- Boiler adapter
- Wall bracket
- Wall mounting plate
- Colour adhesives
- Mains adapter
- Batteries
- Screw pack
Installation
The instructions are simple and easy to follow, with installation guides available on their YouTube channel to help you further.
The pack is made up of two main parts: the thermostat and the relay. The thermostat simply replaces your current wired thermostat and the relay plugs into the mains using the adapter provided.

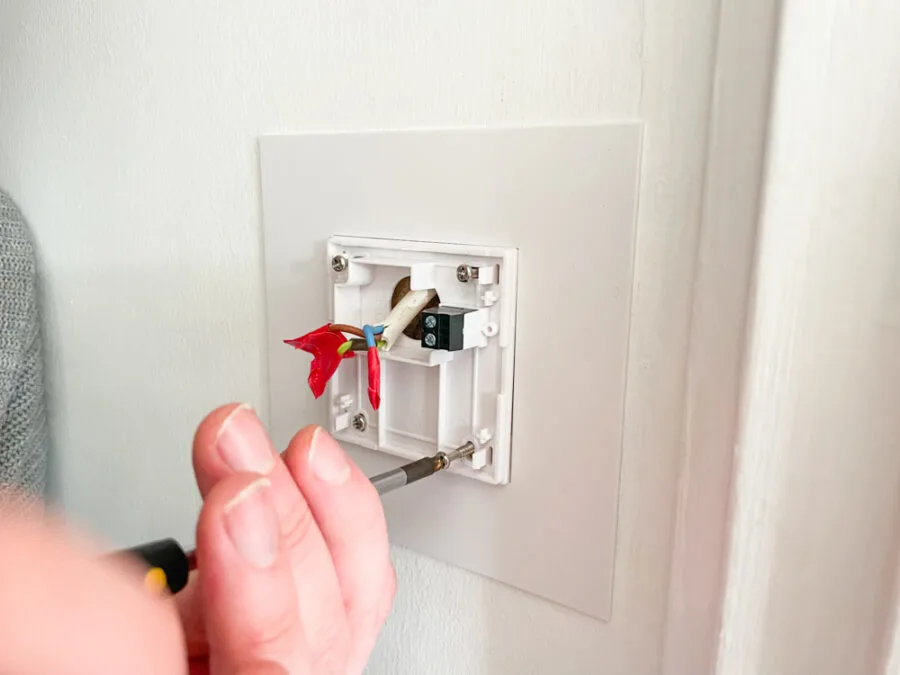
If you aren’t confident installing the thermostat yourself then get in touch with a professional. However, if you are handy with a screwdriver then you just need to replace like with like. Simply remove the existing thermostat, making sure to take a photo of the wires and how they are set up before you do so, and then fix the new plate to the wall.

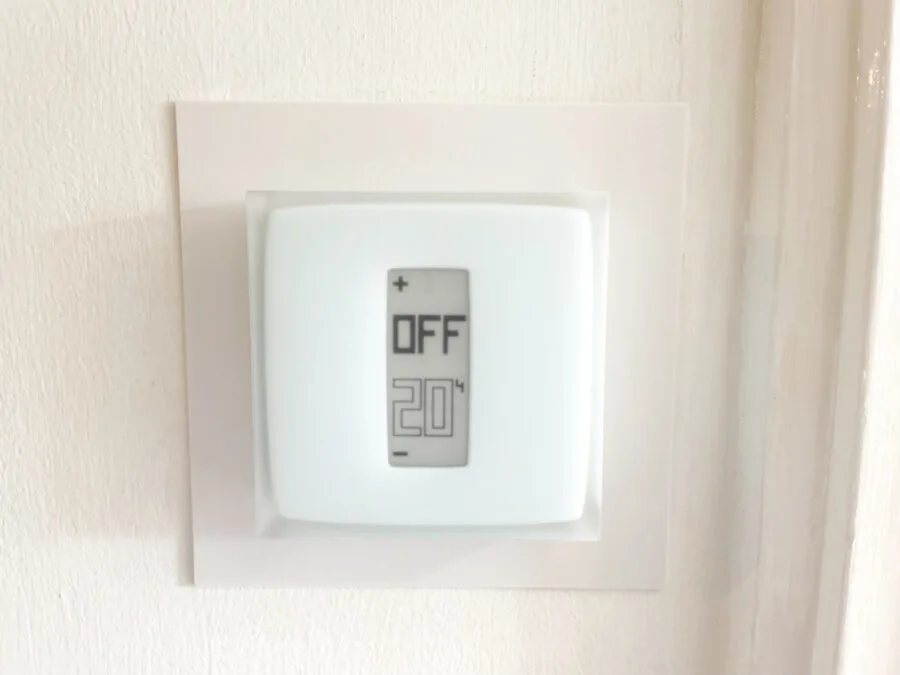
The screen displays two numbers, the top being the target temperature required and the bottom being the current temperature for the space.
Once you have everything installed and plugged in you are prompted to download the mobile app. It is from here that you can program different schedules and set your preferred temperature for your home.


Of course you can still manually control your thermostat, simply press the top of the display to raise the temperature or click the bottom to lower it – you’ll hear a click as you press. Handy if you want to quickly adjust the heating without having to find your phone.
Netatmo Energy app
The app is simple to use and allows you to tell the thermostat to do exactly what you want it to do. If you go to work every day then you can adjust the heating so that it is at a low temperature for the hours you are out of the house.

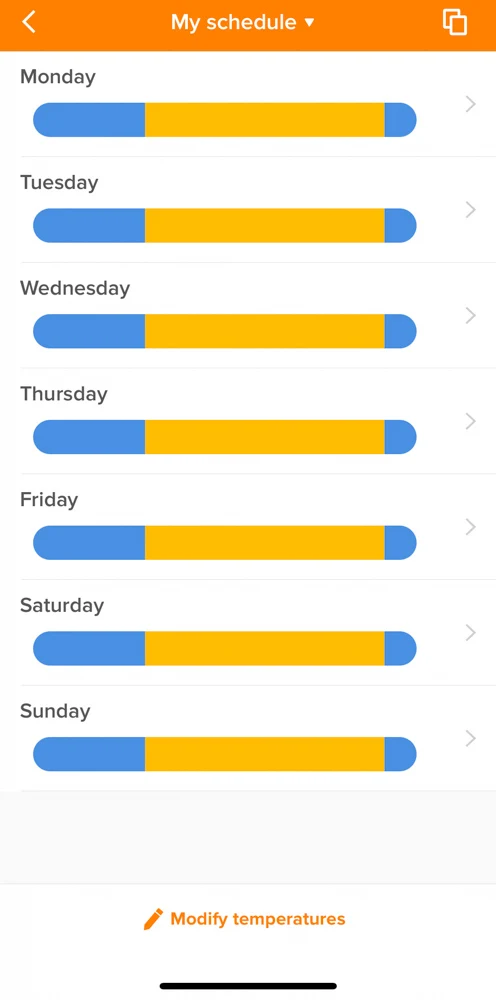
You can adjust the time of day the heating comes on and the time if goes off, the temperature you want it to maintain and customise it for each individual day of the week.
It also allows you to create more than one schedule, so if you work shifts on different weekly patterns, you don’t have to adjust everything on a day to day basis, you can simply name your weekly schedules according to the shift rotation and set your thermostat to follow the right one when needed.
Handy features
There are four default profiles set up in the app already, these are Comfort, Comfort+, Night, and Eco.
Comfort and comfort+ are for use when at home, for when you want to feel comfortable and then perhaps a little warmer should you want a little extra cosiness. They are set to 19ºC and 19.5ºC respectively.
Eco would be used in scenarios such as during the warmer months or even in cooler months where you might not feel the cold as you are active (housework always keeps me warm!). By default this is set to 16ºC.
Night is used during the hours you are asleep in bed and is set to 17ºC so that you aren’t hot in your sleep but that it doesn’t drop so low that you’d wake up cold in the night.

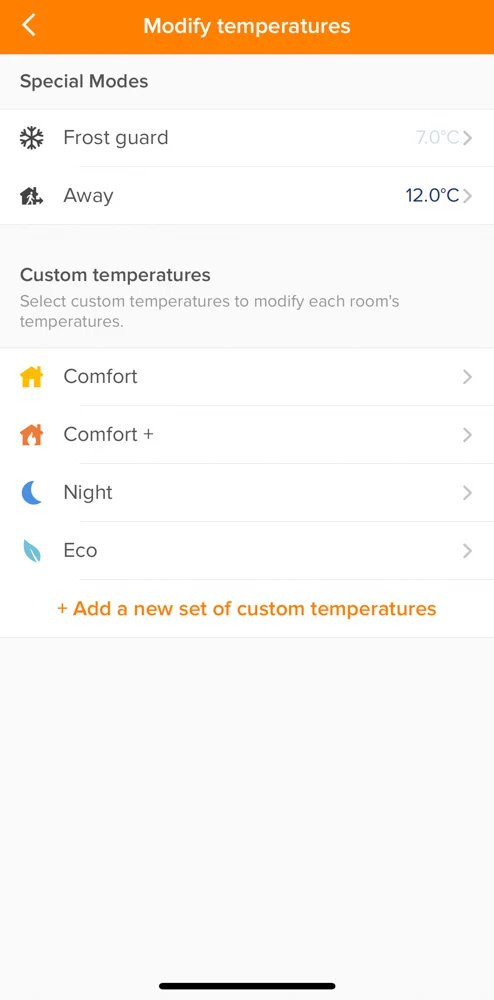
All of the settings can be changed to suit your own preferences.
There are two extra features that you can manually trigger; Away and Frost Guard. If you leave the house you can set the system to Away and it will set the thermostat to 12ºC. If you are going away for a length of time, particularly during cold months, you can set it to Frost Guard to prevent it going any lower than 7ºC and stop your pipes freezing.
Unfortunately the system does not have Geofencing built in, so it doesn’t automatically detect if you leave the home.
Auto-adapt technology
The Netatmo technology is really impressive as it is able to use an algorithm to get to know your house. It will learn how long it takes your home to warm up to the target temperature and adjust itself so that it turns on for the required amount of time needed to get to that temperature by the time you have specified.
So, if you have a really well insulated home that doesn’t take long to warm up, it may turn on 15 minutes before 7am when you want it to be 20ºC. But, if you have a home that takes ages to warm up it will learn that it needs 45 minutes to get it up to 20ºC before you wake up at 7am.
This means that it will only ever fire up the boiler when it is necessary, rather than simply coming on an hour before because that is the default average set by the manufacturer etc…
Linking up to smart devices
Netatmo is compatible with Alexa, Google Home and Apple Homekit for Siri, which is really handy if your home is already smart.


We have Amazon devices and it was easy to connect the two systems. In the Alexa app, simply add new device and search ‘Netatmo’. It will then prompt you through the process, adding your devices to the Alexa app and any rooms you have created already.
Additional smart radiator valves
The smart thermostat offers control over the entire house but if you would like to have individual control of each room then you can install smart valves into the system.
This is useful if you want to be able to have the heating on downstairs in the evening but have the kids’ rooms turned lower / off when they are asleep in bed. Or, if your thermostat is positioned in a particularly cold part of the house and the knock-on effect is that other rooms become too hot at times.
Smart valves just allow the technology to monitor the temperature and adjust the flow of hot water to those particular radiators so that you don’t waste valuable energy (and money) when you don’t need to be using them.

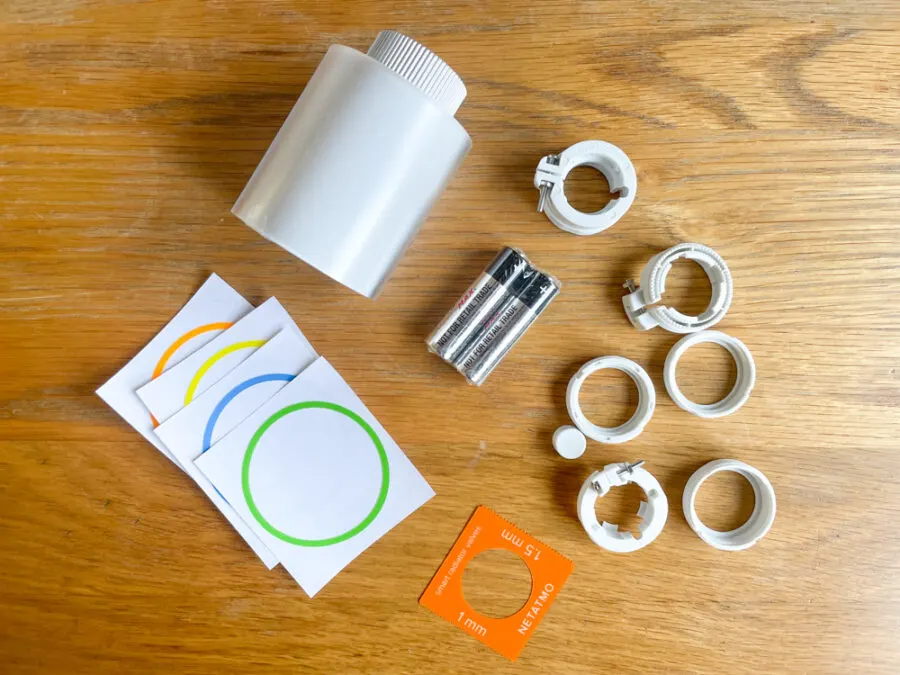
You can buy starter packs (with the thermostat), multipacks and singular packs but essentially you get a smart radiator control unit to replace the manual thermostat control on your radiator as well as adaptor rings to ensure a good tight fit.

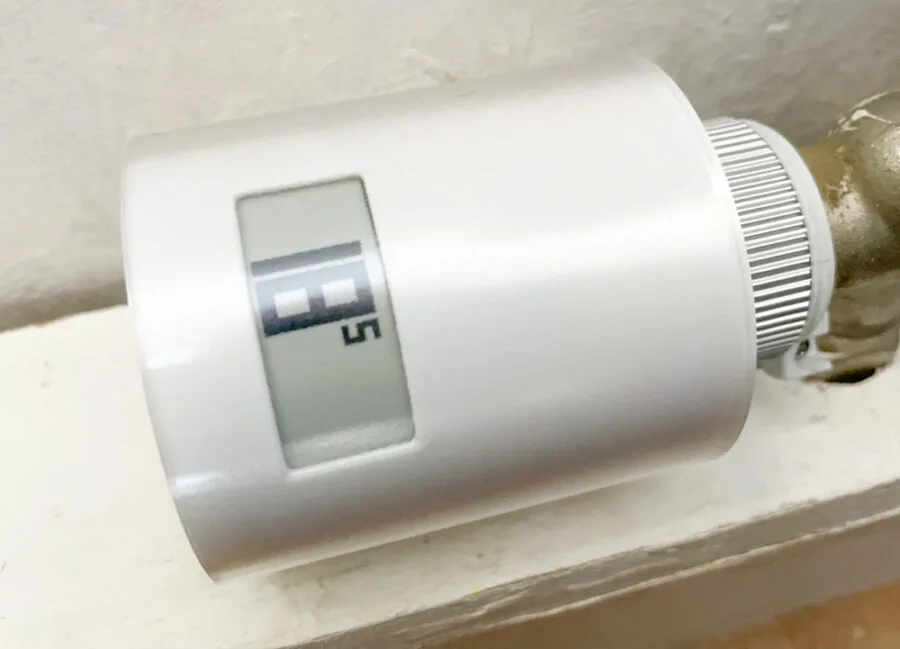
It is really easy to install as you just have to unscrew or unclip the existing control unit and swap it for the smart unit. You’ll have already installed your thermostat and installed the app, so you then add the valve to the system and set the required temperature needed for that room.
Unfortunately the app doesn’t allow you to set your radiator valves to a different schedule, so you would have to manually lower the temperature for different rooms for when they weren’t in use. Still easier to be able to do it from the app than have to go room to room to manually turn the control.
Conclusion
The system is really easy to install and at £159.99 for the thermostat and £79.99 for a valve it is a cheaper option than others on the market. So if you are looking to save energy and money then it is a great way to make your home work smarter.
Find out more at netatmo.com/en-gb
Take a look at the Netatmo Home + Control app too where you can see exactly home much energy each of your devices are using, so that you know which ones you might want to limit!