
Inside: A step by step guide to cleaning your bathroom.
The bathroom is one of the rooms in the house that needs cleaning on a regular basis as it is a breeding ground for germs. On a daily basis you want to wipe down the sink and clean the toilet so that if any guests should come over, they are met with a clean bathroom.
You will also want to do a deep clean of the entire bathroom as part of you household schedule and this will require a more thorough approach, tackling the limescale buildup, light fixtures that will have gathered a lot of dust and other jobs that need attention.
Preparing the room
The first thing to do is to remove any empties from the shelves and cupboards as well as anything that doesn’t belong in the room. You also want to clear anything that will get in the way such as toothbrushes, toothpaste, toothbrush holder, towels etc…
You also want to remove towels, wash cloths and bath mats to be popped in the washing machine.
Bathroom cleaning supplies
You will need to gather your cleaning supplies so that you have everything you need to get the job done well.
- Rubber gloves
- Clean cloth (pink for the sink & blue for the loo)
- Old toothbrush
- Bleach
- All-purpose cleaner
- Limescale remover
- Glass cleaner
- White vinegar
- Baking soda
- Citric acid

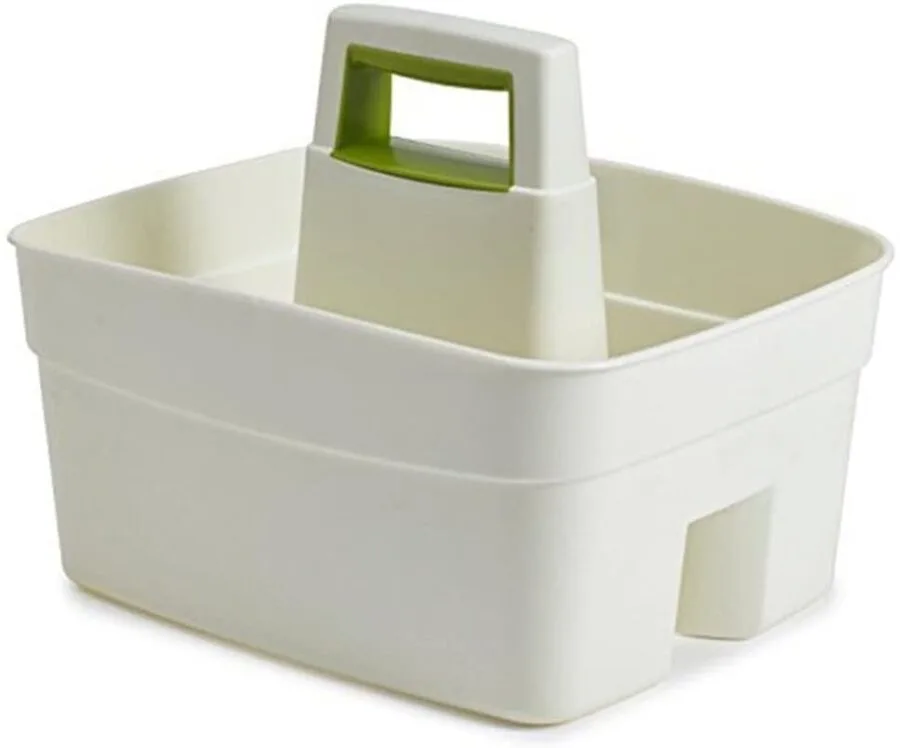
Keeping your cleaning supplies together will make it much easier to grab them and head to the bathroom to get started. I use this cleaning caddy with a handle and I use it to store everything I need to clean the whole house, so that I can take it with me as I move from room to room.
Pre-treatments
Before you get going properly, you’ll want to pre-treat a couple of the areas so that they can get to work while you go around the rest of the room.
Toilet bowl – take the bleach and give the inside of the bowl a good coating. If you’d prefer a greener alternative, scoop a cup of Citric Acid into the bowl and then take your toilet brush and give it mix, bringing some of the Citric Acid around the surface of the bowl. Leave it while you clean the room.
Bath screen/ shower door – take some limescale remover and spray it all over the glass. Or, mix a few drops of white vinegar with baking soda so that you have a paste to apply to the glass. Leave while you clean the room. You can also check out how to clean shower doors on the Bella Bathrooms blog.
Shower head – if you are able, remove the shower head and place it upside down so you can pour in some limescale remover (or some white vinegar) to unclog the holes. If you aren’t able to remove the head, take a plastic bag and fill it with your chosen solution and tie it to the shower head so that it is fully submerged. Leave it overnight.

Sink area
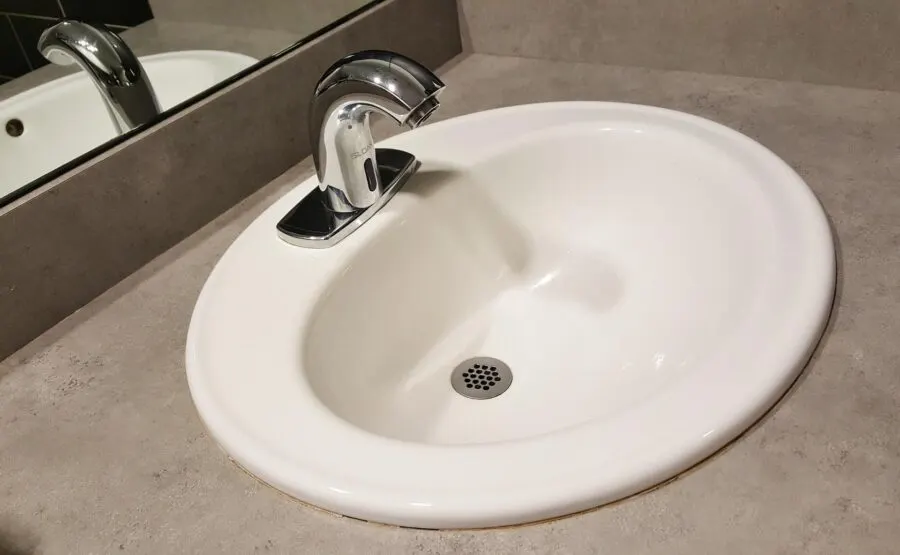
The bathroom sink shouldn’t be too bad if you are giving it a daily wipe down. However, the taps, the drain and the area around the sink will need some attention.
Use multi-purpose cleaner to clean the sink area from top to bottom, if necessary use limescale remover on the taps and pour bleach down the drain followed by hot water.
Alternatively, use a 50/50 solution of water and white vinegar in a spray bottle to clean, baking soda and vinegar for the taps and then some vinegar followed by baking soda down the drain to eliminate smells.
Bathtub and shower
Pay particular attention to the soap scum that builds up around the bathtub, spraying cleaner and giving everywhere a good scrub before rinsing. As with the sink, you’ll need to clean the limescale from the metal fixings – especially in the shower where water splashes all around. Clear the drain in the same way as the sink, according to your preference.
IMPORTANT: Do not mix bleach and vinegar as it creates a toxic gas.
As part of your pre-treatment you will have sprayed the shower doors / bath screen. You can now rinse these down and dry using a clean, dry microfiber cloth to prevent further water marks developing.

Tiles
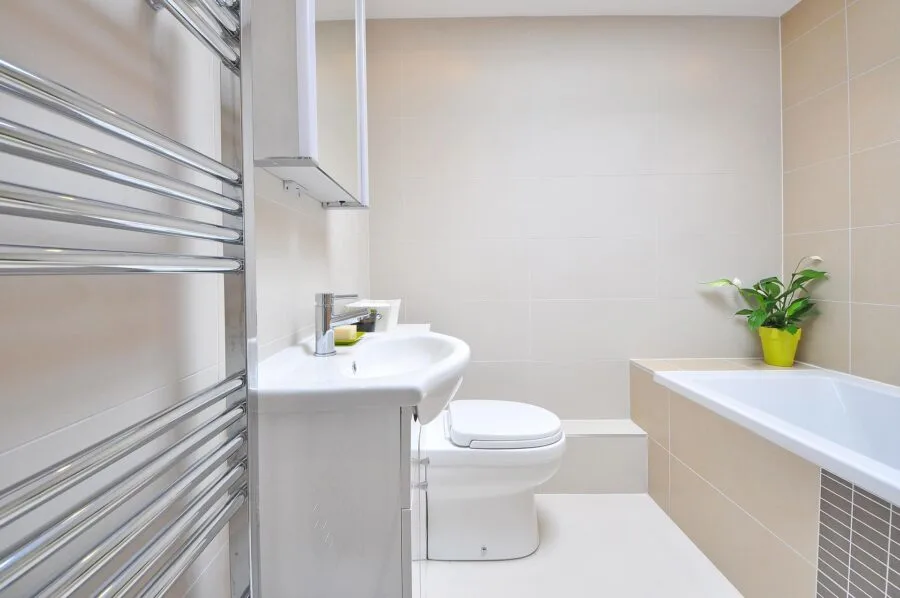
The tiles that make up the shower walls can develop a dirty film from steamy showers and dust in the air. Use your all-purpose cleaner to wipe them down, leaving them clean and fresh once again.
The grout requires a little more effort and an old toothbrush is the perfect tool to get into the grooves. A baking soda and water mix (equal parts of both) is great for getting rid of the dirt that builds up and clings to the grout.
TOP TIP: For grout that has black mould on it, you can use Cillit Bang Black Mould Remover Spray. First of all, make sure that the room is fully ventilated as the fumes are very strong. Take some paper towels and soak them in the solution before laying them onto the grout. Leave it to work for an hour or so before rinsing. The black mould should be completely gone!
To prevent black mould from reappearing, Tea Tree Oil is the only thing I have found that kills it 100%. Check out my recipe for black mould killer if you need it.
Mirrors, cabinets and surfaces
If you haven’t already, remove anything that will get in the way here. Use all-purpose cleaner or a 50/50 mix of water & vinegar to clean window sills, shelves and inside cabinets.
For your mirrors, use a glass cleaner or some vinegar on a microfibre cloth to remove any splashes and grime that has built up.
Toilet
The toilet needs frequent cleaning, daily if possible, to keep on top of the germs that inevitably collect inside. A quick scrub every day is enough in terms of maintenance but you will need to do a thorough clean of the entire toilet as part of your deep clean – namely the outside of the toilet and around the back, which often get neglected.
You will have hopefully started the process as part of your pre-treatment for the room, having coated the inside of the toilet bowl with cleaner so it has time to work. You can now get in there with a brush and start scrubbing – paying attention to underneath the rim and underneath the waterline. Both of these areas will attract limescale buildup and so need some work.

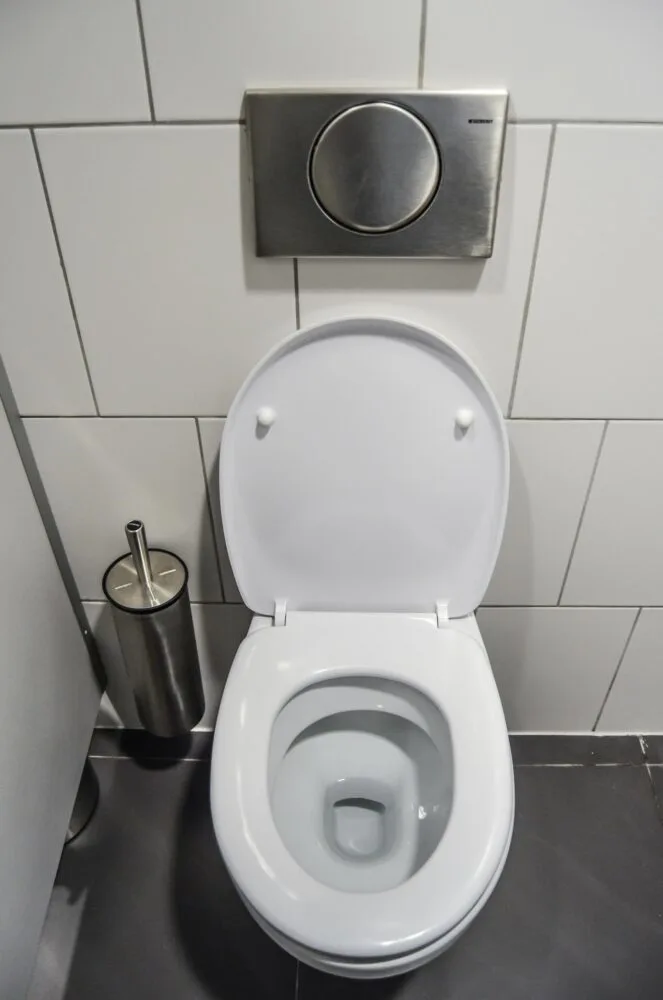
The brush needs a clean before being put away and a good way to do this is to spray some disinfectant onto it and then rinse it as you flush the toilet.
Next, take a cloth (blue for the loo) and along with some bathroom cleaner you want to clean the cistern, the flush, down the sides of the toilet and around the outside of the bowl. Give the cloth a rinse and then move onto the last part.
Clean behind the toilet seat, getting in between the nooks and crannies as well as under the seat where it is quite honestly disgusting. In fact I often use a piece of toilet roll for the underside, just to remove the majority of the build-up so it isn’t all going onto the cloth.
The cloth isn’t used for any other part of the room so it can now have a quick rinse before going into the wash.
Lights and extractor fans
An often overlooked part of any room are the light fittings. The bathroom, with its humid conditions, allows lots of dust to settle and then stick so it is always a good idea to give these a wipe down as part of your deep cleaning process.
Vacuum any vents and light fixture surfaces and then give them all a wipe down with a slightly damp cloth.
Walls
If you only have part of the bathroom tiled, you may wish to give the bathroom walls a wipe down too. Most bathroom paint is able to withstand moisture so should be fine, but wipe gently just to be on the safe side. Using a mix of 1/4 cup of fabric conditioner in a bucket of water will remove any unwanted marks easily.
Floors
Saving the bathroom floor until last means you can work your way backwards towards to door knowing you have finished the room. Spray floor cleaner onto the floor and use a brush to scrub away any grubby spots and a cloth to give the whole floor a wipe down. Of course, if you regularly mop your hard floors this will be included as maintenance.

Finishing touches
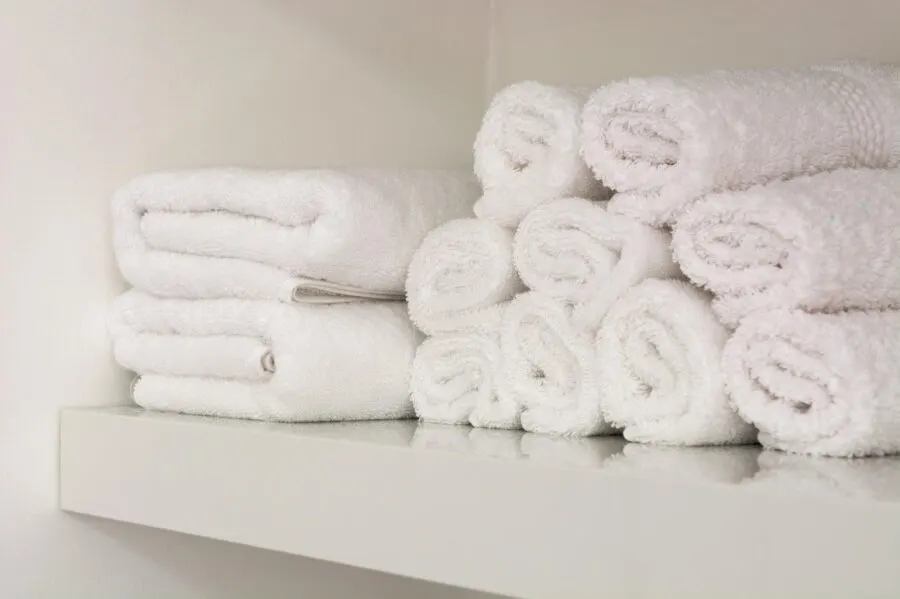
Once the floor is dry you can go back in and add clean towels, wash cloths and mats so that it is ready to be used again.
The whole process may look like hard work but the more often you can do it the quicker and easier it becomes. The first time is always going to be the hardest!