
Inside: How DIY window shutters can transform your home. Collaborative post.
More and more people are turning to shutters for their window treatments, but is it simply a trend or are they gaining in popularity for more than just their curb appeal?
Shutters come in a variety of styles, with a colour, design and size to suit all windows and door openings. They offer a layer of insulation, block out noise, allow full control of light and look amazing – what’s not to love?
In this post we will look at the benefits of window shutters and how DIY shutters can be a great option if you want to cut costs and have the satisfaction of creating something beautiful for your home.
What are DIY shutters?
First things first, let’s go through what shutters are and how they differ to traditional blinds.

Traditional blinds work by having a fixing along the top of a window, allowing the blinds to hang down below. Venetian blinds have strips that run horizontally and are controlled by a rod that allows them to tilt up or down to allow more or less light into the room. They are a popular choice but don’t have the same benefits as wooden shutters, which we will cover below.
Wooden shutters are built-in to the entire window opening by use of a frame. This means they fit the space perfectly, with no gaps, to give a luxurious feel to the room. They can then be opened fully or make use of their tilt feature to let as much or as little light in as you need.
If you are reading about DIY wood shutters then the chances are you’ve already looked into shutters and seen the cost involved in having a company measure and fit them for you. Well, with DIY shutters you are in charge – measuring and fitting the shutters yourself to save on costs. The shutters are the same quality of course, and companies such as The Shutter Store have guides to walk you through every step of the process – making it easy even if you have no DIY experience at all.
Benefits of window shutters
Interior shutters may be on trend at the moment, but they are much more than a fashion statement. They come with a range of benefits that will benefit you and your home for years to come – a true investment.
Privacy
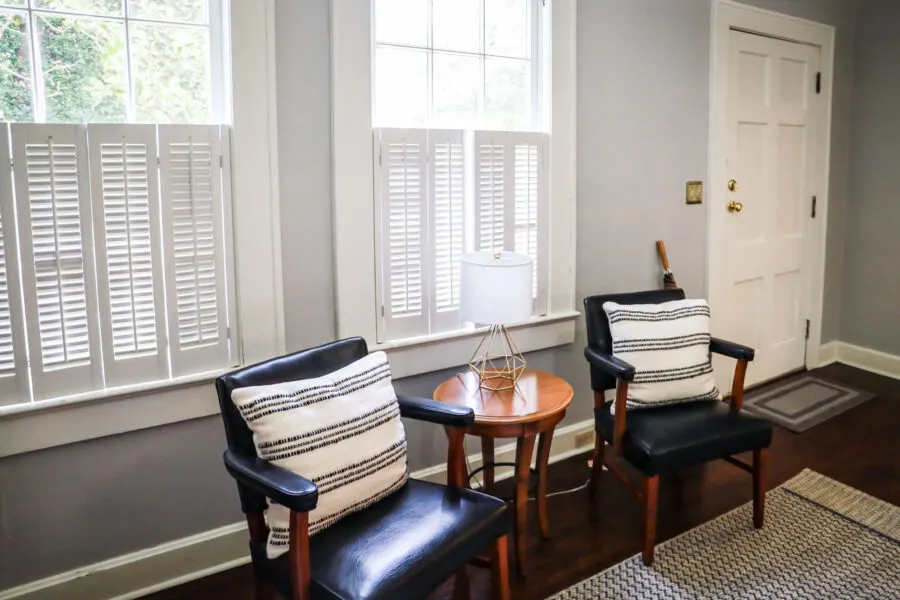
It isn’t practical to have your curtains drawn all day long and net curtains are neither stylish or easy to keep clean. Shutters allow you to have light and visibility out of the window but prevent anyone from being able to look in through the window. You can even opt for a ‘cafe style’ so that only the bottom part of the window has shutters, with the upper part being open to allow more light inside.

Light control
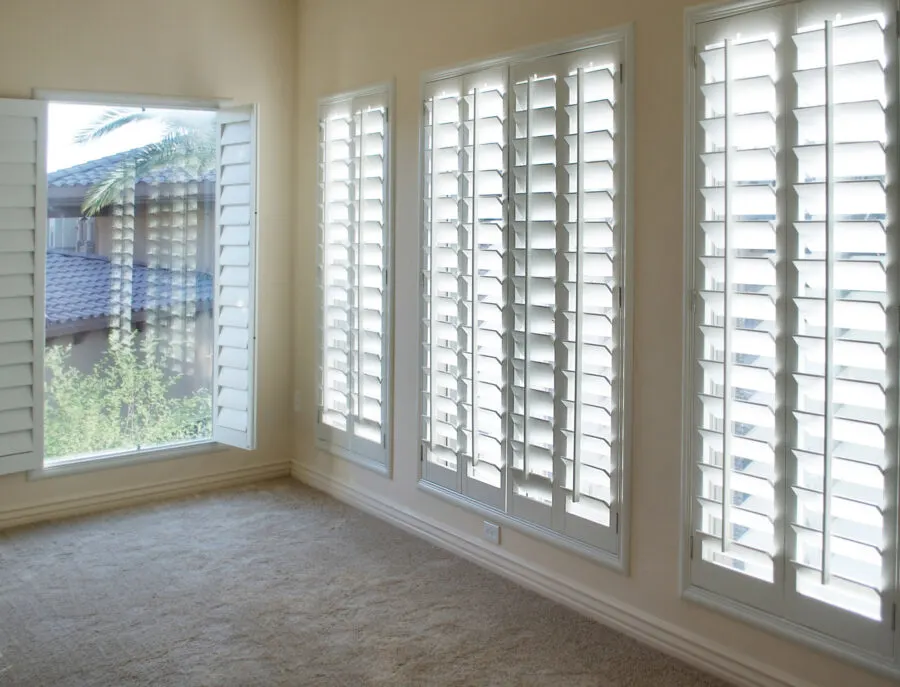
Shutters are so easy to use and give customizable light control for the room. Fold the shutters open to allow all light into the room, tilt the slats up or down to direct light where you need, or close them completely to block it all out. We fitted our own DIY shutters in a tier on tier style last year to allow the bottom of the shutters to be closed but allow some light in at the top – giving ultimate control options when we need them.
Insulation
With heating bills going through the roof, having an extra layer of insulation on the windows during the winter months is a massive plus. But equally, during the hotter months they can block out the heat and keep the room cool and shaded.
What styles can I choose from?
Full height – These cover the entire window and can be used for doors too. You can install a midrail so that you can control the top and bottom slats independently of each other.
Cafe Style – These cover the bottom section of a window only, leaving the top part open to allow light in.
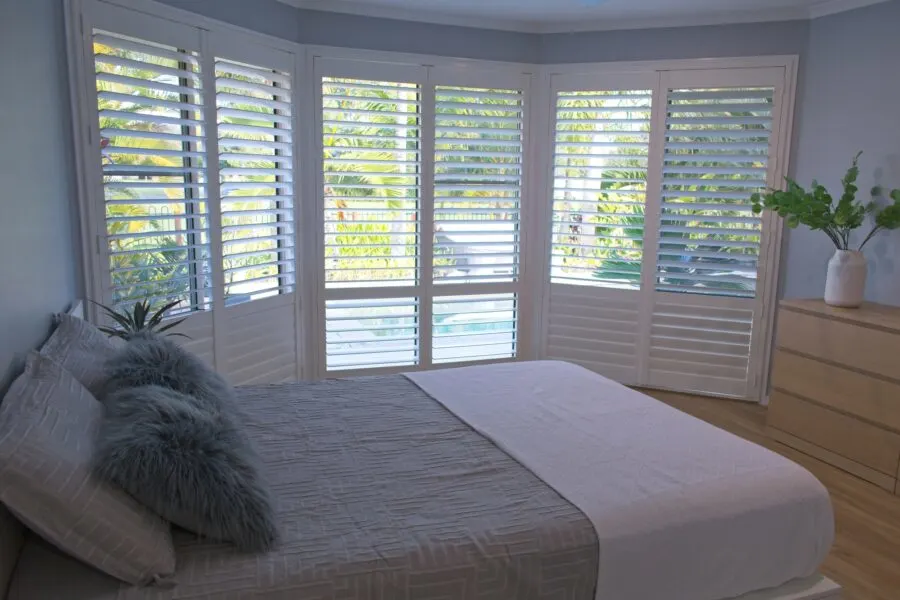
Tier on tier – If you would like full coverage but want to be able to control the top and bottom panels independently, these are for you.
Solid – If you want a full blackout option, solid panels are great. Or, you may prefer to have a solid lower part with slats at the top for a really stylish look.
What else can I customise?
You have full control and so can choose the number of panels needed, the size of slats, the style of tilt rod you’d prefer, and whether you want a divider rail. Plus of course they come in a whole host of colours and have multiple colour options for the hinges too.

Measuring and fitting DIY shutters
All you need is a tape measure, a spirit level and the instructions for the style of shutters you would like. You will need to measure the height of your window as well as the width, making sure you take measurements from three different points and making a note of the smallest measurement. This is important as you need to fit for the smallest point for your window size so that the frame fits well. Of course, follow the specific guides as they will hold your hand every step of the way.
Once you have your window measurements, the size of your windows will then determine the shutter size and number of panels you require. Input that into the website and work through all of the customisations and style choices you want.
Once your new shutters are ordered, you just have to wait for them to be made and shipped to you. Now comes the fun part – installation. With a video tutorial to guide you, simply follow the instructions to fit your shutters. You’ll need a flat surface and some space to lay them out and put the frames together before fitting them to your window frame so it’s a good idea to move any large furniture out of the way before you start.
Fitting your own shutters can be a daunting prospect but it really couldn’t be simpler. And with different options to suit different tastes and home design, you can create a sleek look that won’t break the bank. Plus, with the money you’ll save on heating, they really are a great investment for your home.