
Inside: How to Hang Framed Pictures: Simple Guide with What Goes Where and Why. Collaborative post.
There’s a moment every mum knows. You tidy the toys, fluff the cushions, light a candle, and the room still feels a bit…flat. The quickest fix I’ve found is hanging a Framed Picture that actually means something to us. One photo on the wall can make a space feel warmer, calmer, and more “us” in minutes.
I used to overthink it. What should go where? How high? Will it look wonky forever? After a few trial-and-error weekends and more than one fresh hole to patch, I’ve landed on a simple approach that works for busy family homes. It’s gentle on the budget, friendly for rentals, and most importantly, easy to repeat from room to room.

Why framed photos make a home feel like home
Walls tell your story. A candid family snap in the living room softens the edges of a long day. A quiet landscape beside the bed helps your brain switch off. A silly holiday picture in the hallway makes the school run dash feel lighter. When the images match the purpose of the room, everything settles, including you.
What to hang where (and why it works)
The living room is about togetherness. Choose a family moment that feels true rather than posed. One large piece above the sofa anchors the room and sets your colour story for cushions and throws. Bedrooms need calm. Go for gentler images, soft seaside shots, quiet countryside, close-ups of hands or sleepy faces, that help you wind down.
Hallways carry the energy of the house. This is the place for travel memories, kids’ giggles, even a rotating “this month’s moment” that sparks a smile as you grab the coats. Kitchens and dining areas love everyday joy. Little celebrations, birthday candles, Sunday pancakes, simple scenes that make mealtimes feel warmer.
The easy rule for height and size
Here’s the part that used to trip me up. Most pictures look best when the centre of the frame sits around eye level. In most UK homes, that’s roughly 145 cm from the floor. Above the furniture, aim for a Framed Picture that’s about 60 to 75 per cent of the width of what’s beneath it.
Over a 200 cm sofa, that means something in the 120–150 cm range, either one big piece or a tidy pair. Leave a small gap (about a hand’s width) between the top of the furniture and the bottom of the frame so it feels connected, not floating.
How to build a gallery wall without losing your mind
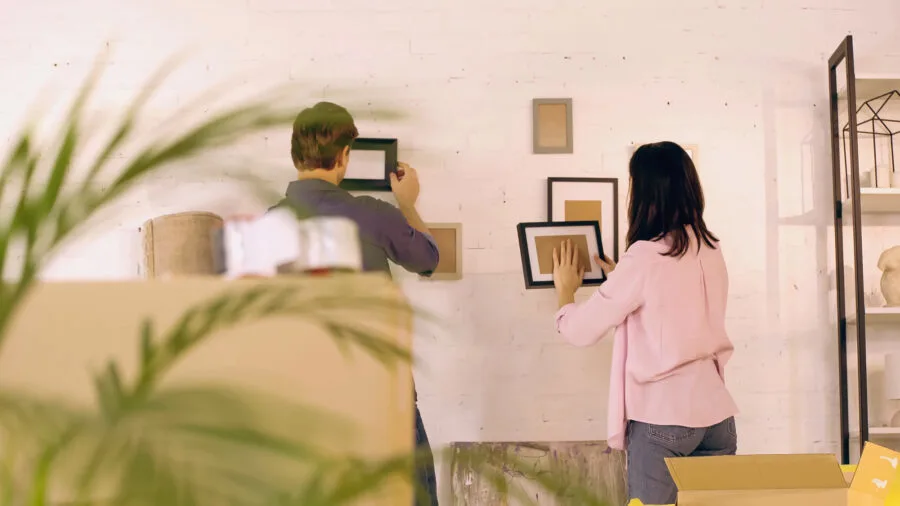
Start on the floor. Lay out your frames until the arrangement feels balanced. Keep the gaps even so your eye can rest, think two to three inches, not much more. Pick one anchor image and build around it. When you’re happy, lift the layout to the wall one piece at a time. I stick low-tack tape where the tops will sit, step back, adjust, then commit. It’s slower than winging it, but it saves patching and repainting later.
Renter-friendly hanging that actually lasts
Not every wall can take a drill, and not every landlord loves holes. For lighter frames, I use strong adhesive strips and clean the wall first so they stick properly. For bigger pieces, I still prefer proper fixings, but two hooks spread apart will stop the frame from drifting wonky over time. A tiny felt pad on the lower corners protects the paint and keeps everything straight.
Choosing frames and finishes that suit family life
Glare is the enemy of calm. Matte prints and non-shiny frames are kinder on the eyes, especially in bright rooms. Keep to one frame colour across a space (black, white, oak) so your photos can do the talking. If your home is full of warm tones, sepia or golden-hour photos nestle in beautifully. If your space is crisp and light, black-and-white images add definition without shouting.
Quick check before you hang
Measure twice. Mark the centre point. Hold the frame up and take five steps back. If it makes you breathe out, you’ve nailed it. If you tilt your head, drop it a little, or nudge it closer to the furniture edge. Small tweaks make a big difference.
A note on quality and cost
You don’t need to spend a fortune, but do start with the sharpest version of your photo. Screens hide the blur that a print will reveal. If you’re ordering online, MY-PICTURE.co.uk is a great and reliable platform, where you can check the preview so that no important faces sit too close to the edge.
Bringing it all together
Pick one wall and start there. Choose a photo that makes your shoulders relax when you look at it. Hang it at eye level. Keep the frame simple. Add a cushion or throw that nods to the colours in the picture and call it done for today. Tomorrow, tackle the hallway. Bit by bit, your home starts telling your story back to you, and that’s when it feels like home.
If you try any of this, I’d love to see. Tag me in your before-and-afters, especially the wonky ones you rescued. Those are my favourites, because they’re real, and so are we.