
Inside: How to print & cut using a Cricut Joy after the Design Studio update.
There are several Cricut machines available and some give you the option to print using the machine as well as the traditional cutting and drawing that you’d expect.
The Cricut Joy is not one of those machines and so you may find yourself wondering whether you are ever able to print and then cut without having to upgrade.
The Cricut Joy is a compact machine that is perfect for beginners, allowing you to cut and draw to create cards, labels and more.
It doesn’t allow for printing though but by linking up your own printer and creating a template on your base mat you can print & cut to make your own stickers!
I am going to show you how to use your own printer to print first and then how to create a template on your cutting mat to allow you to line up your design to be able to cut it out.
Perfect for designing and making your own stickers to put in your journals and planners.
*WANT TO MAKE & SELL STICKERS? CLICK TO GET ACCESS TO A FREE E-COURSE THAT WILL SHOW YOU HOW*
Creating a template for your cutting mat
At first you may think it is simple to print out a design and then use your mat to cut.
But you soon realise that the Cricut machine has no idea where on the paper or indeed where on the mat your design is.
So, you must create a template that allows you to align your design perfectly so that the Joy can cut around the exact lines of your creation.
Note: Of course you could cut your stickers out by hand but you don’t get a clean cut. This is necessary especially if you plan on selling your own stickers.
Using Canva for the template
Canva is an amazing resource that you can use to create so many things. I have used it to make party invitations, graphics for my blog and social media and so much more!

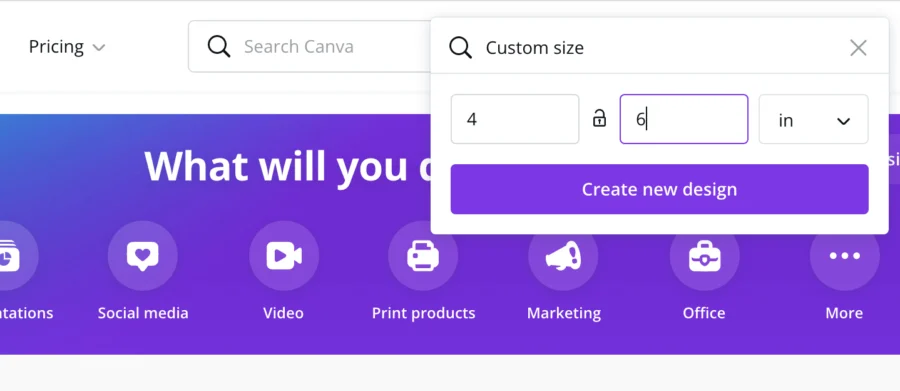
The first thing you want to do is to click on ‘create a design’ and scroll right down to the bottom where it gives you the option to put in a custom size.
Choose inches (in) and put in 4×6 as this will be the optimum size for your Joy cutting mat.

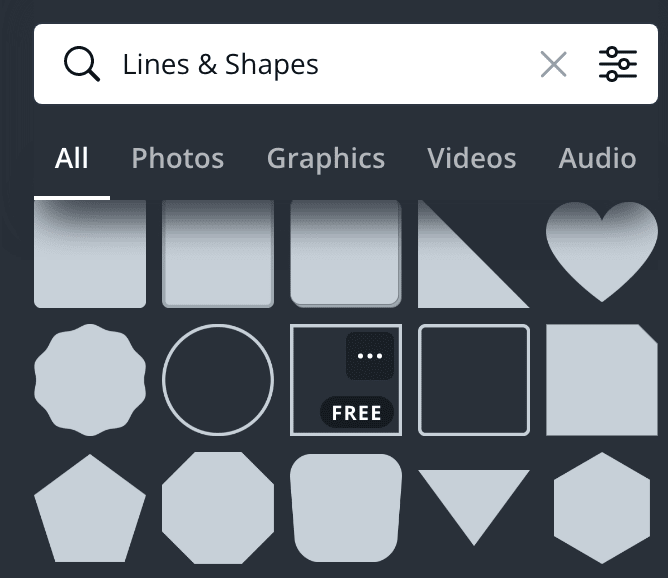
You will then be taken to the main Canva workspace where you can see the document.
On the left hand side you want to click on ‘Elements’ and go to ‘Lines & shapes’. Choose the square by clicking on it.
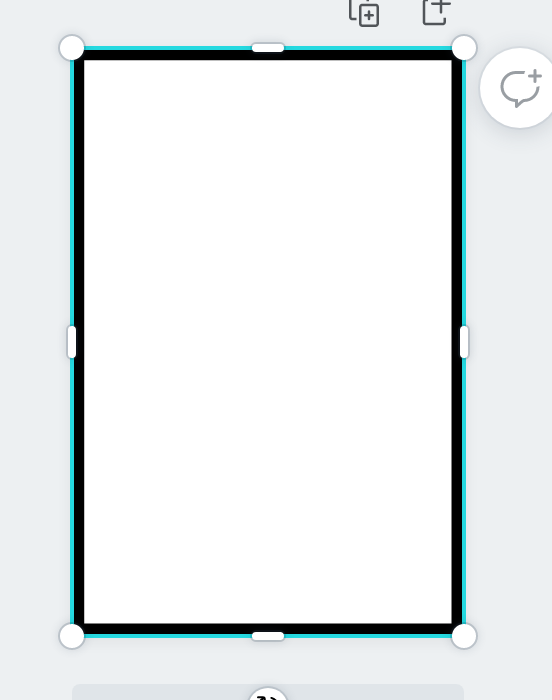
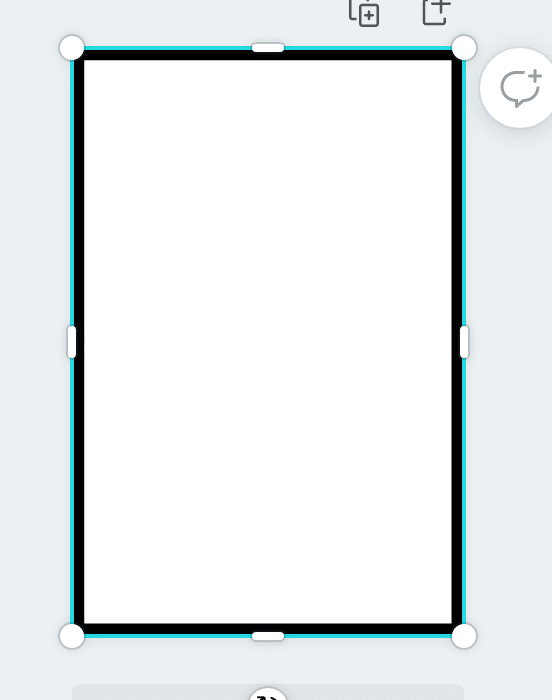
Drag the edges of the square until you create a rectangle that sits within the document. This will be your template shape that you’ll use for your Cricut mat.

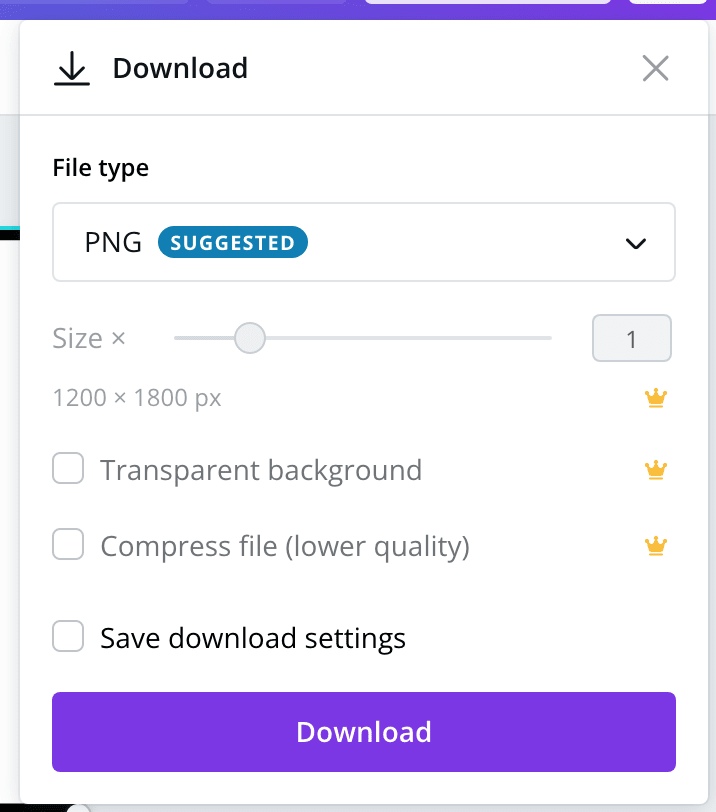
Download the template as a PNG file and head over to your Cricut Design Space program.

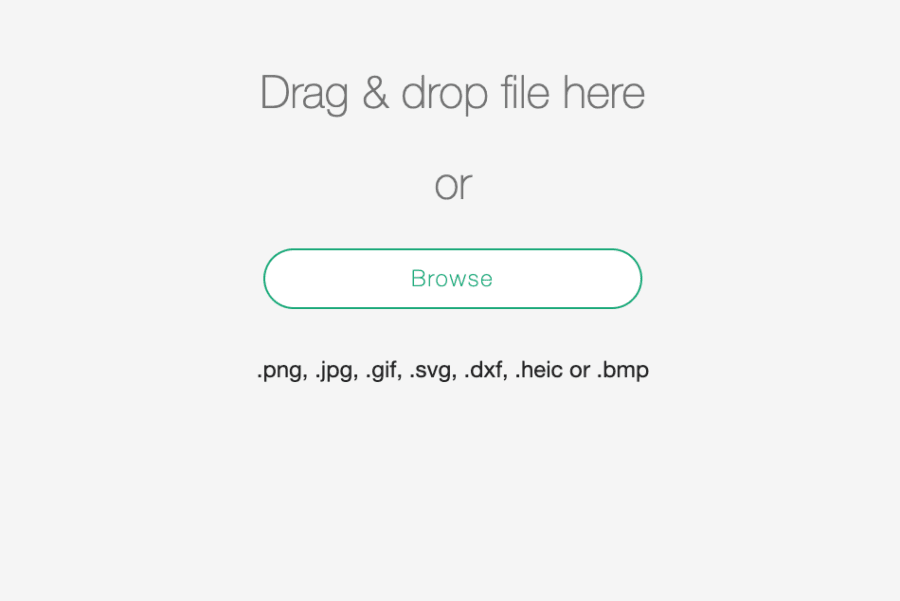
Click ‘Upload’ on the left hand side and drag your template file into the area to upload it.

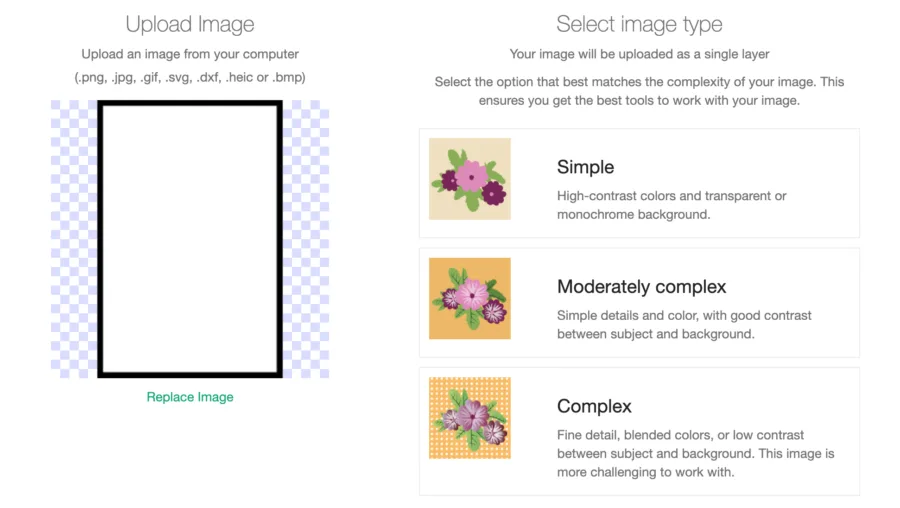
You are then given the option of which upload you’d like. Choose ‘Complex’ for ease.

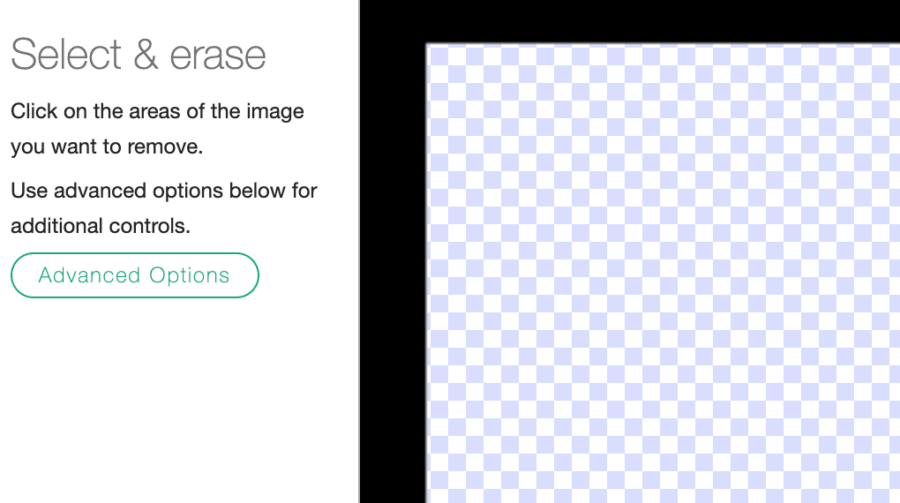
The Cricut software allows you to remove the background of your projects by clicking in the space. Click in the white area to leave behind the black outline of your template.


You then want to click ‘Print Then Cut Image’ for the next stage.

Your template will then appear in your dashboard. You now need to make sure you resize it to match the original 4×6 size that you created in Canva.
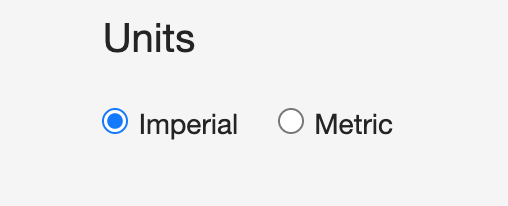
Make sure your settings are set to imperial (Home> Settings).

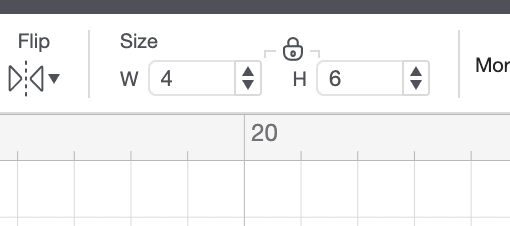
Type in 4×6 into the sizes along the top of the dashboard.

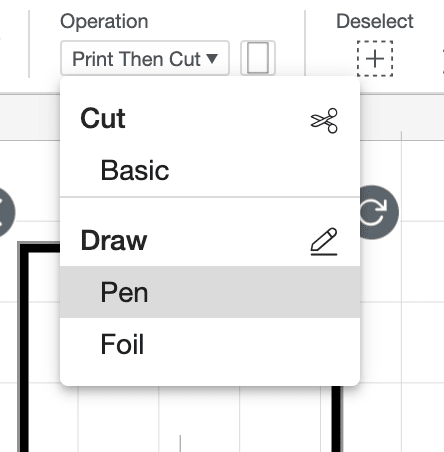
The current selection for the project will be cut and draw. Head to the top bar and change it to Draw (pen).

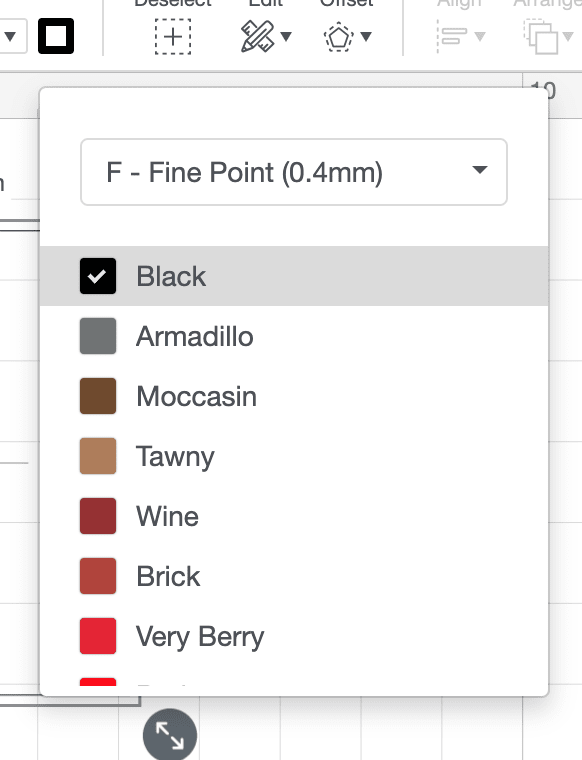
Be sure to choose a pen type that is suitable for the Joy (black fine point works well).

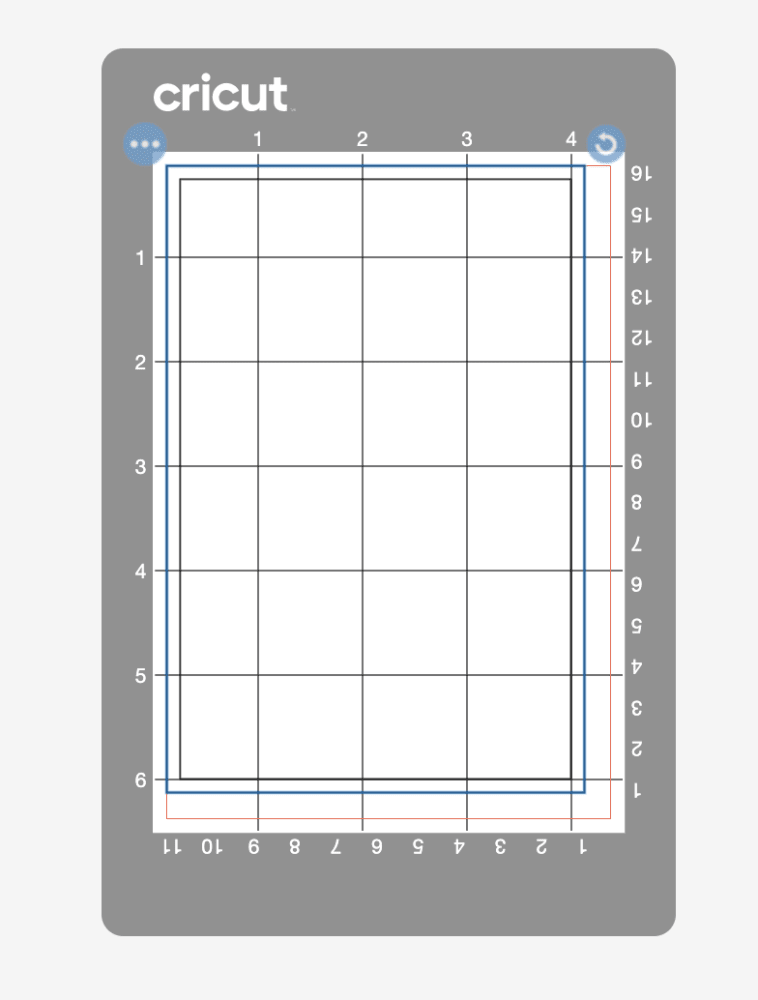
It will now be shown as a drawn outline rather than a solid black line.

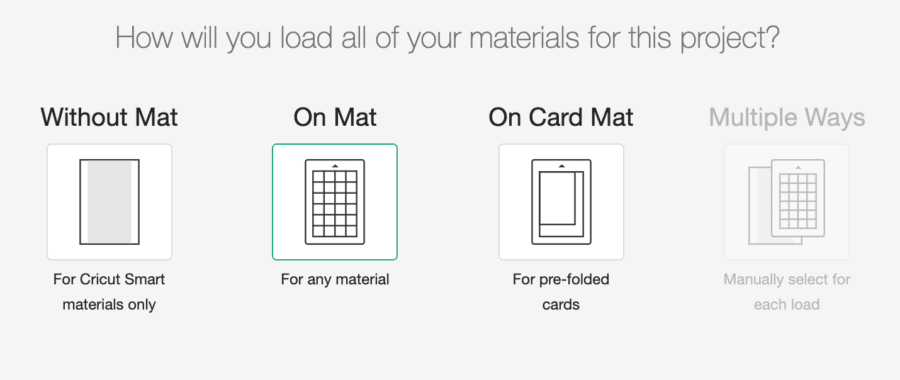
It is now time to press ‘Make it’ and select ‘On Mat’. Connect to your Joy and you are ready to draw.

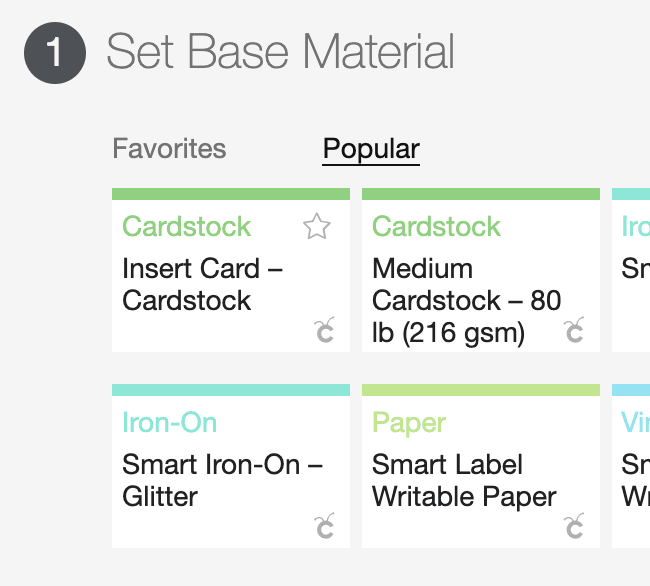
Select ‘Insert card stock’.

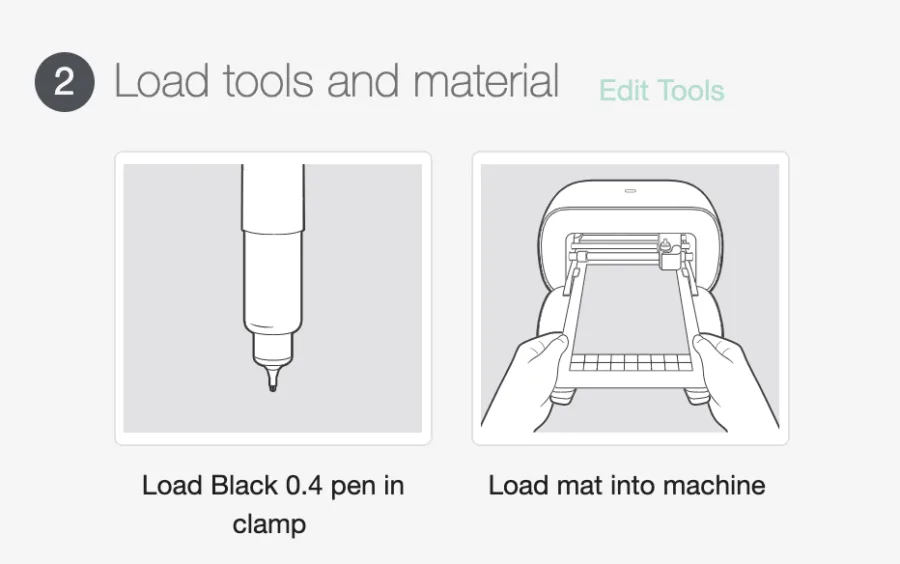
Load in the cutting mat and the black pen and you are ready to press ‘Go’.


The Joy will now draw the template onto the cutting mat which will allow you to proceed synching up your printed stickers with your Cricut Joy.
Designing your stickers
If you are wanting to design your own stickers click here to read more about how to do that so they fit your cutting mat template.
You can use Canva to create custom shapes for your planners or if you have Photoshop then you can also use that to create some funky stickers with a white outline (you’ll want to save them and transfer them into Canva to ensure they fit within the border).
Of course you don’t have to design your own, you could always buy some to print out – there are lots of sites selling planner stickers online.
IMPORTANT UPDATE
Unfortunately, Cricut seem to have caught on to the workaround that had been created. Obviously wanting people to buy their more expensive machines that have printing built-in. But never fear, there is still a way to work with your joy.
Follow all of the steps above as before, creating the template on the cutting mat and designing stickers using Canva.
Updated workaround. Whereas before we could send the stickers to our printer through design space, we simply carry on in Canva a little longer.
So, check that your sizings are still set to the correct dimensions and print directly from Canva to your printer. As sticker paper comes in A4 size, you’ll want to make sure you make good use of the paper and fill the page with as many rectangles filled with stickers as possible.

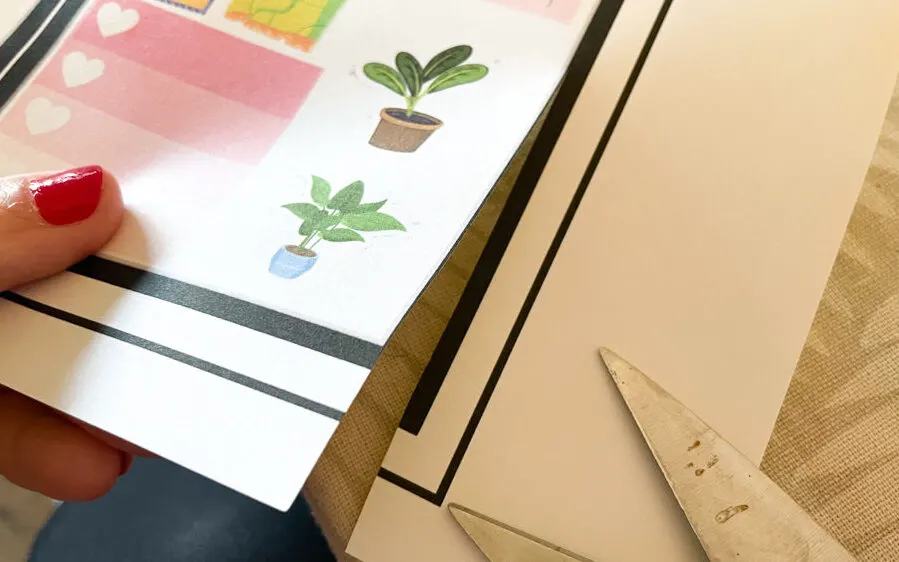
Cut out each rectangle, carefully cutting inside the lines of the rectangle so that the template can be placed within your prepared mat.
You must cut INSIDE the black border.

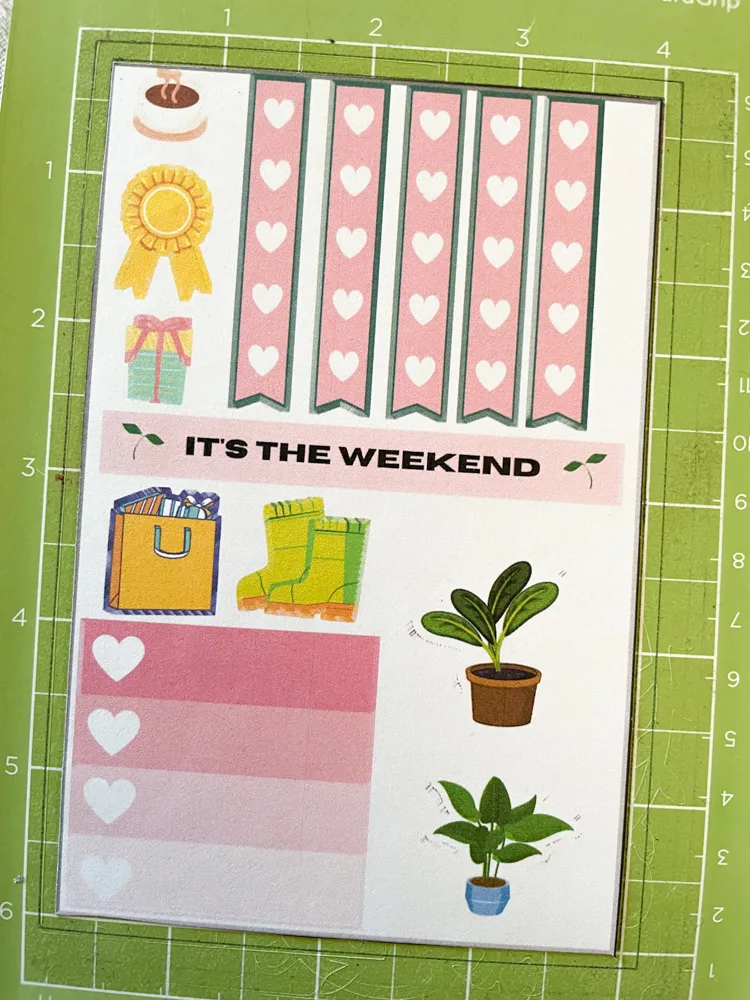
Once you have your rectangle (minus the black border), you will notice that it fits neatly inside the template drawn on your cutting mat.
If you mat is no longer sticky, head over to this post to find out how to make your Cricut mat sticky again.
You can always use some masking tape or craft tape to stick down the edges to prevent the paper slipping on the mat.
Using your Cricut Joy to cut
Before you can cut out your stickers, you need to upload the design file into the Cricut Design Space.

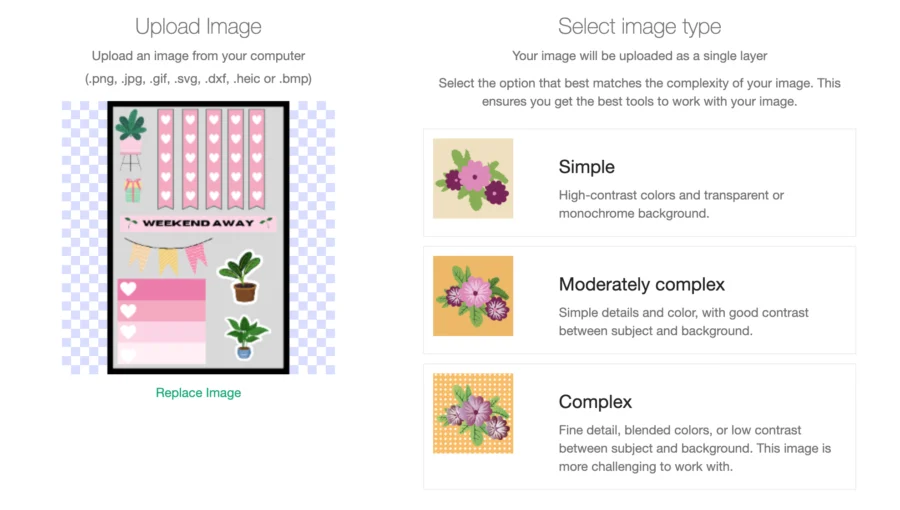
Choose ‘Complex’ so that it easily differentiates around the details.

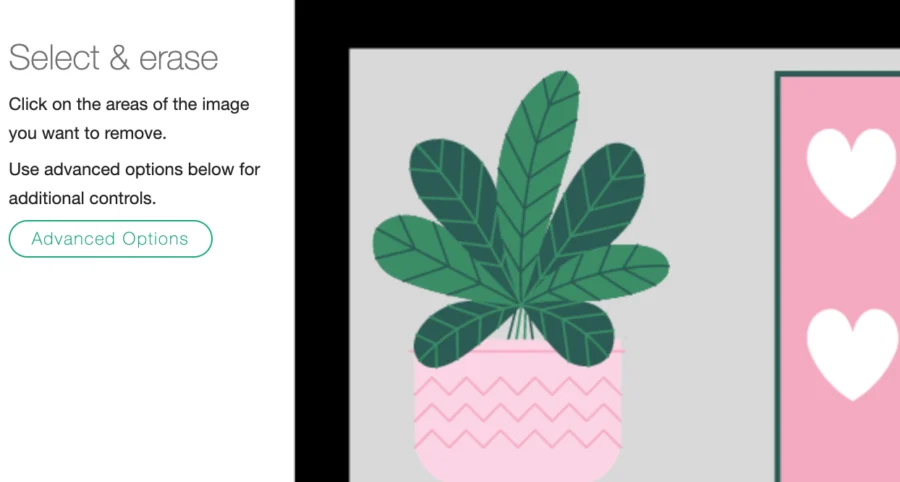
Use the built in background remover tool to get rid of the background.

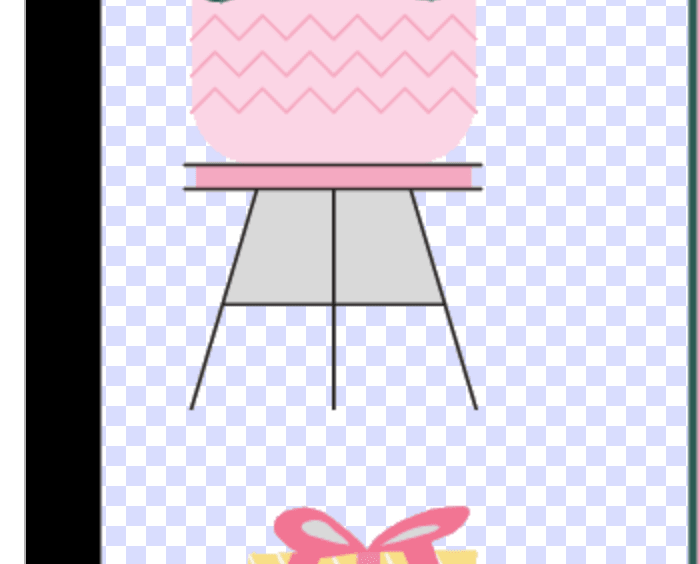
Check for any extra spaces that need removing and click where necessary.

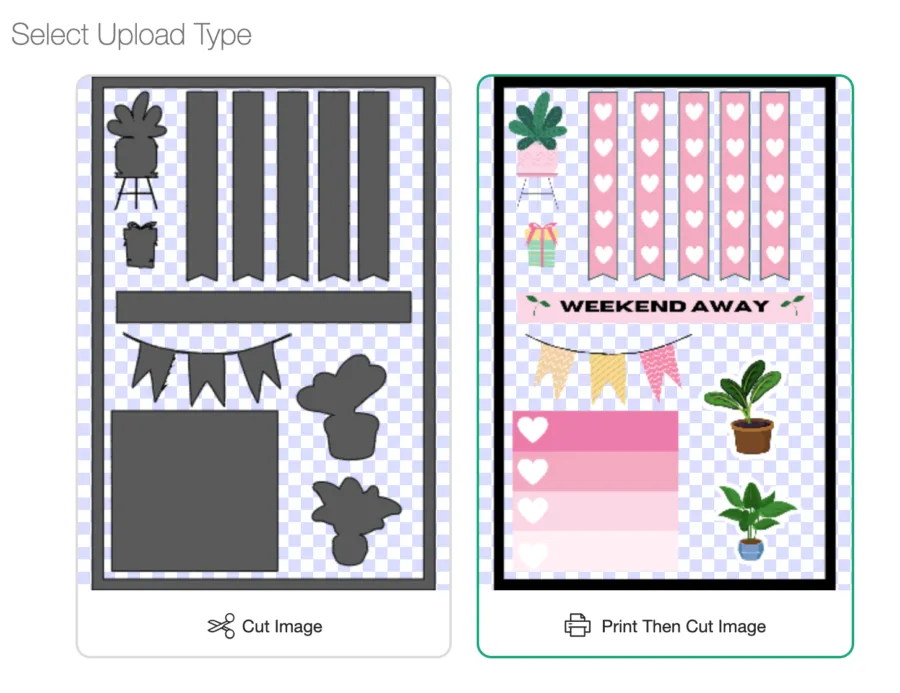
Set it to ‘Cut image’ as you simply need it to cut around the outside of each sticker.

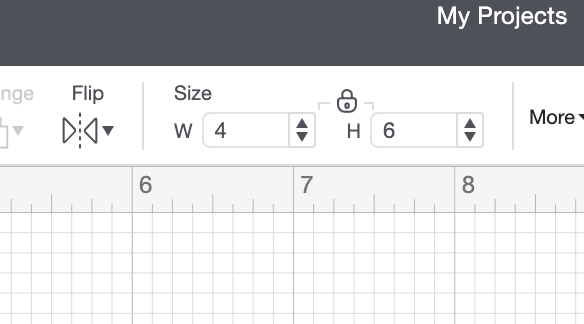
Remember to resize the rectangle so that the border is 4×6 once again. This is very important as Design Space seems to like resizing when uploading images.

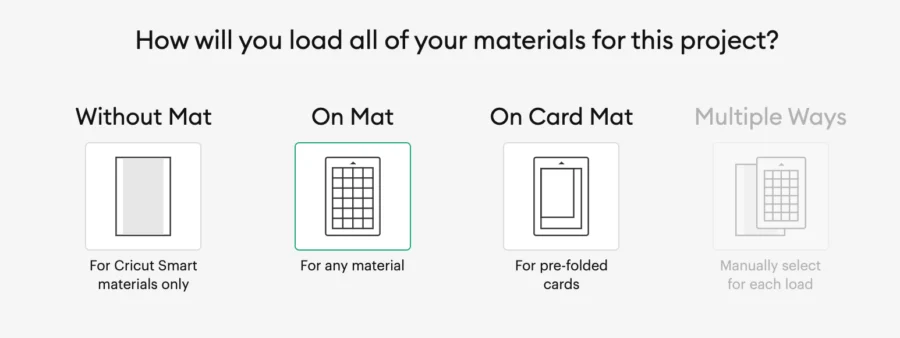
Click ‘make it’ and choose ‘on mat’.

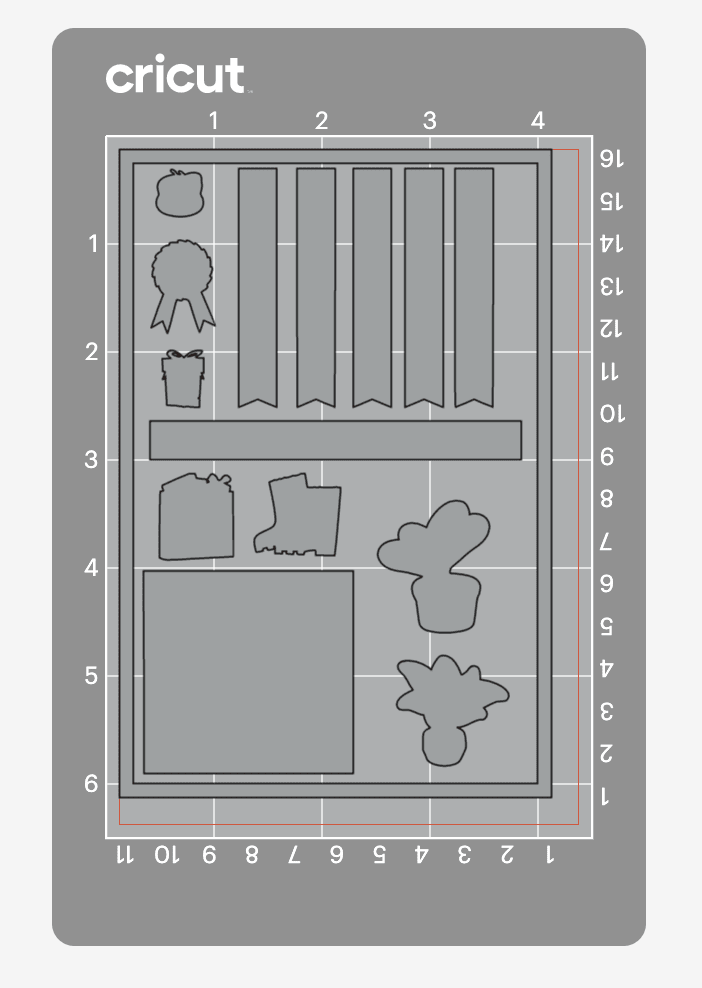
You’ll see that Design Space places your design exactly where your guide lines are on your mat. So go ahead and load in your mat and send it to cut.

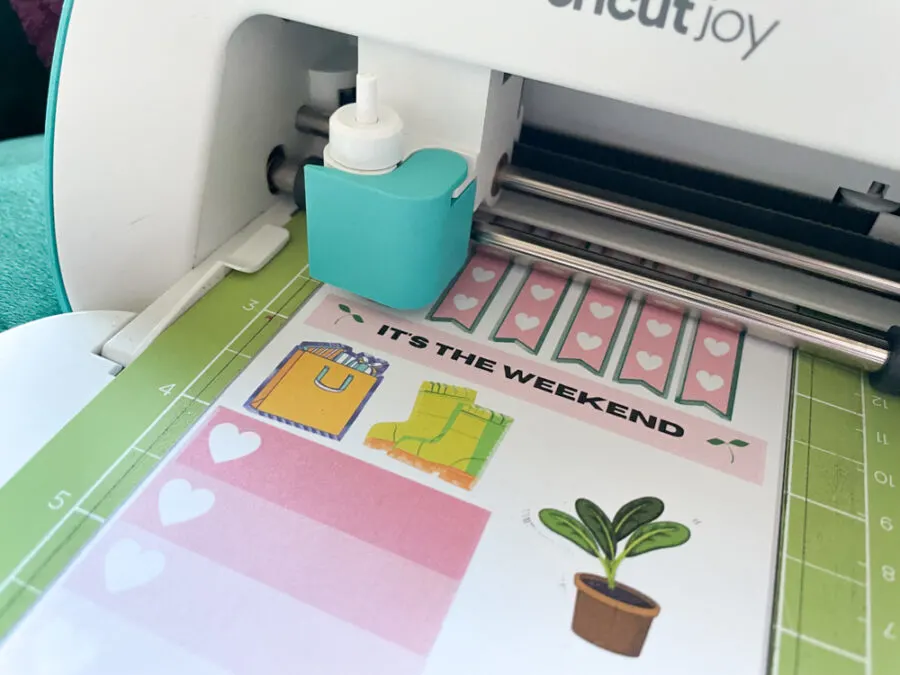
Your stickers will be cut out and you can use them in your planners, diaries and wherever you wish!


Of course you don’t have to make stickers. You could use something like HTV Labs Heat Transfer Vinyl to create designs for fabric.
I have used my Cricut machine to make several t-shirts for me and the kids.
And if you are even more adventurous you could use HTV Labs Adhesive Vinyl to create stickers for your walls in your home. I quite fancy the idea of making leopard print stickers for my girls’ chest of drawers.
If you don’t have a Cricut machine at all yet, take a look at this article sharing the best Cricut machines on the market right now.
Enjoy!
*WANT TO MAKE & SELL STICKERS? CLICK TO GET ACCESS TO A FREE E-COURSE THAT WILL SHOW YOU HOW*
Danielle
Tuesday 9th of July 2024
I’ve created Post-It templates for printing, so I figured out the print a template that fits on the mat thing, but lining it up stumped me. Drawing it on the mat. Genius. Thank you!
Katy
Monday 15th of July 2024
You are so very welcome xx
Janette
Friday 3rd of May 2024
Thank you so much! With a bit of tweaking as a newbie, I finally managed to cut some images I printed on my Pixma, on my standard Cricut Joy! You are a lifesaver!
Katy
Wednesday 15th of May 2024
So glad it worked! xx
Marjory
Tuesday 23rd of January 2024
Hi, Katy. My daughter is trying to use her Joy to make stickers for a school function. We are getting frustrated because every tutorial says to switch from the Joy to another Cricut device to access the printer. BUT...when select "Make", we get a message saying the other device is not setup. We either need to setup the other device or go back to Canvas. If I try to setup the device, we can't proceed through the steps because we don't have the other device to connect to and can not finish the process. Any thoughts? She is so upset. This is the entire reason she wanted a Cricut, and now I'm worried that we bought the wrong device for her! Thanks!
Katy
Friday 26th of January 2024
Hi Marjory. I had no idea that Cricut had blocked this workaround so I am glad you commented. I have updated the post to show you how you can STILL get around the issue. Hope it helps but do let me know if you run into any other issues. x